

New Interface - published 2026.06.22
Sign in to the Merchant Interface.
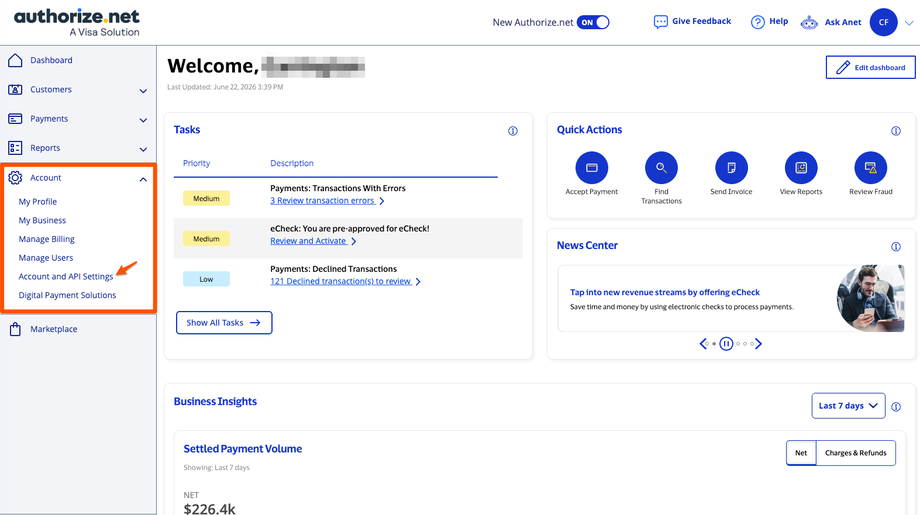
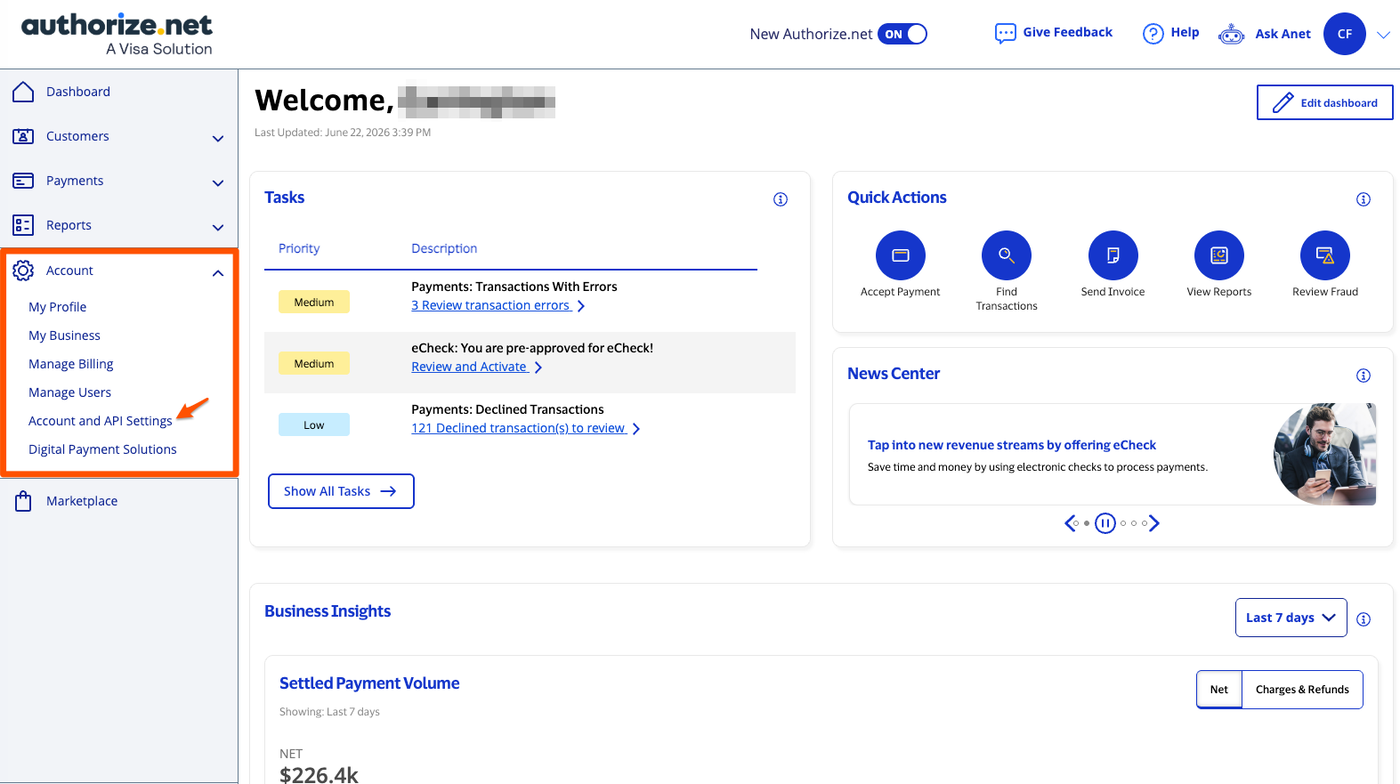
Select Account from the main toolbar / sidebar then click Account and API Settings
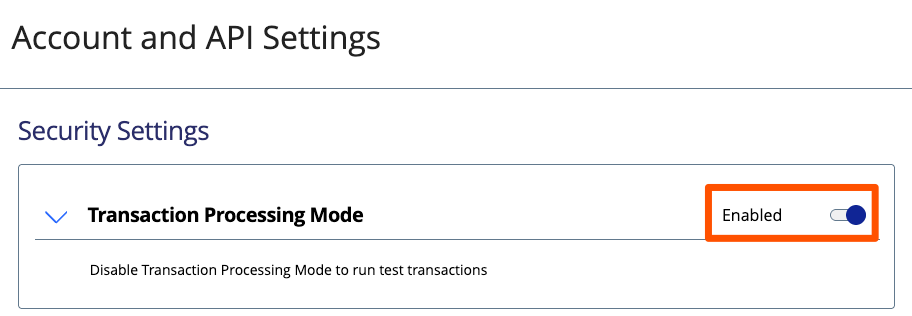
If you are ready to immediately process live transactions in production mode (not test transactions), ensure that Transaction Processing Mode is set to Enabled.
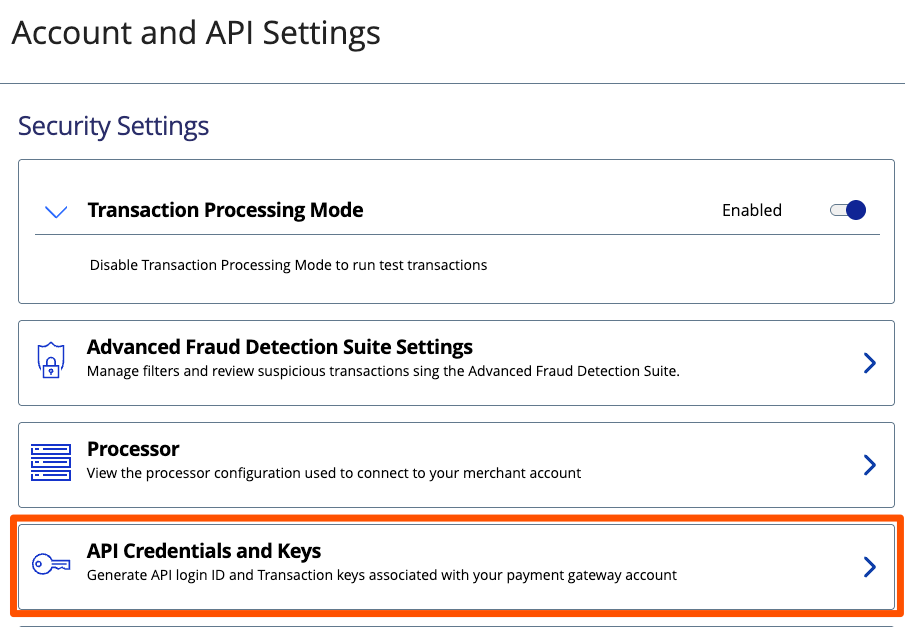
Click API Credentials and Keys.
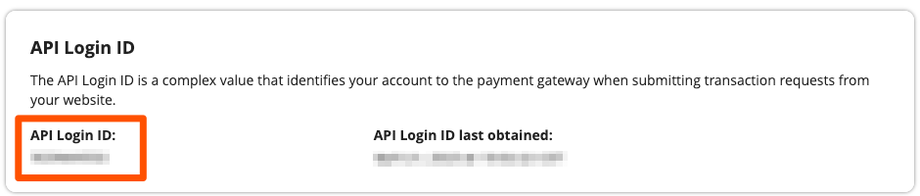
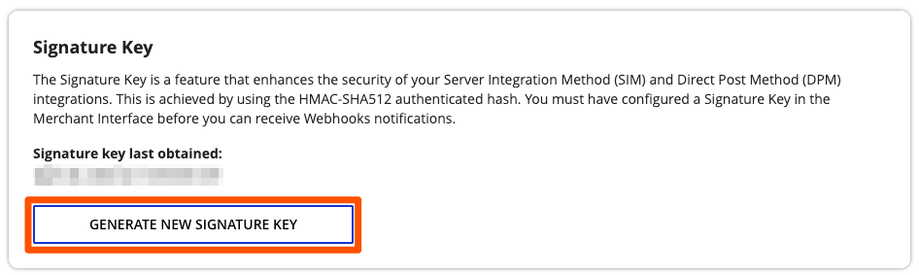
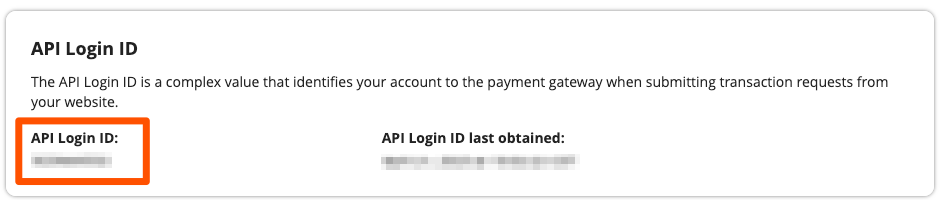
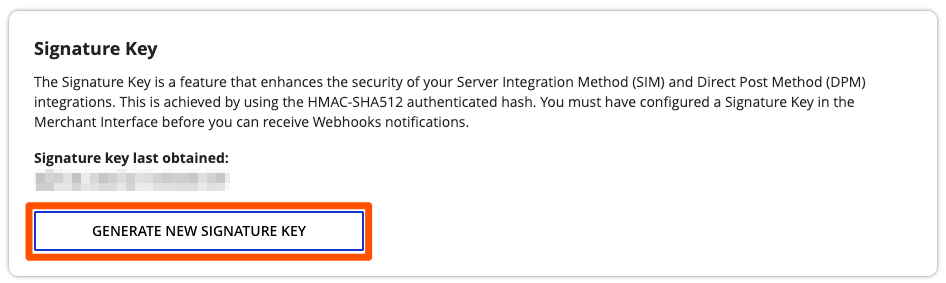
Your API Login ID will be displayed and you will be given the ability to generate Transaction Key, Signature Key, and Public Client Key.
Warning: Authorize.Net displays your transaction key only once for security purposes. Please copy it immediately. If you lose this key, you must repeat the previous steps to generate a new one.
Legacy Instructions (Old Interface)
Sign in to the Merchant Interface.
Select Account from the main toolbar.
Under Security Settings, select API Credentials & Keys.
Based on the need and integration, select New Transaction Key or New Signature Key.
To disable the old Transaction or Signature Key, check the box labeled Disable Old Transaction/Signature Key Immediately.
If the Disable Old Transaction/Signature Key check box is not selected, the old Transaction or Signature Key will automatically expire in 24 hours. This will also impact any use of the Signature Key for transaction response validation for the SHA2 field. If the old Transaction/Signature Key is not expired, the previous key will continue to be used for the hash/response validation.
Select Submit to continue.
Request and enter PIN for verification.
Your new Transaction/Signature Key is displayed.