From the web back office:
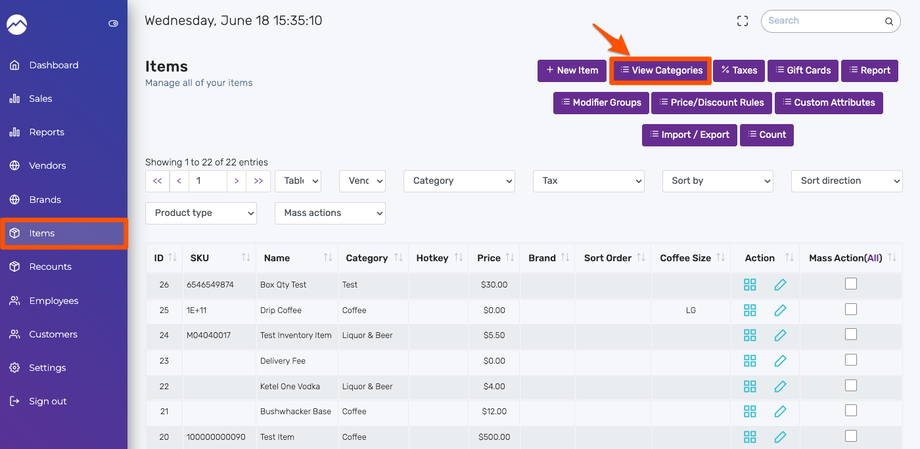
- Click Items
- Click View Categories
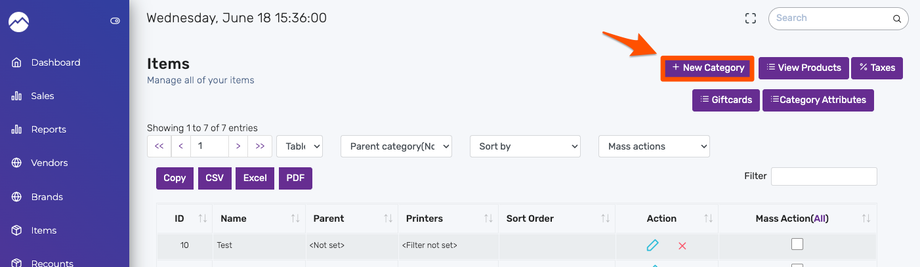
- Click New Category
- Type your desired Category Name.

- Other options in the Create Category screen:


-
- Category Picture - this will take the place of the white box on the POS. PNG, JPG are supported image types.
- Parent Category - to make your new category a subcategory, simply select the parent from the drop down.
- Sort Order - by default, categories are sorted in alphabetical order. If you want a category to appear at the top left (first position), you can set the sort order to 0. The second category would be sort order 1, and so on.
- Status - you can choose to make the category invisible if desired.