Overview:
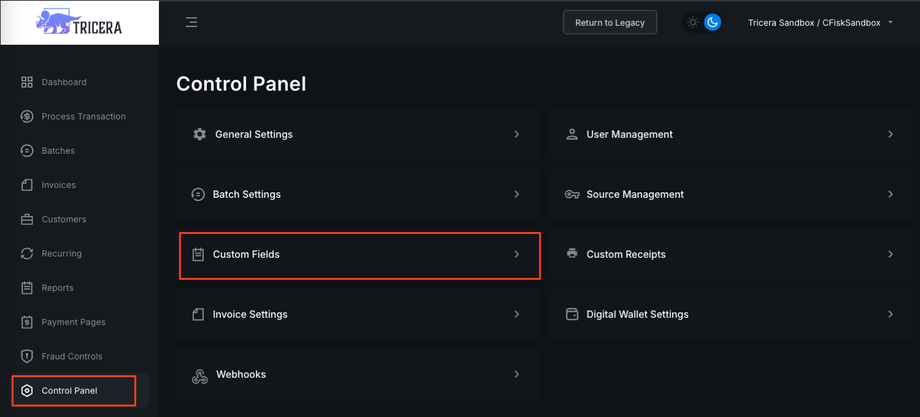
In the Control Panel tab on the left panel, the User Management tab allows you to manage and control user access, permissions, and default visibility for specific fields.
Adding new users:
To add users to an account, click on the +Create new button on the top right corner of the page.
- Create a unique username (usernames are case sensitive)
- Enter first and last name
- Input an email address
- Select a start page (the page the user will see when they log in). Make sure this is a module that they have access to in their permissions.
- An IP address can be entered to limit the user to logging in from specific IP address(es) only, such as the office computer
- Set user access
• Master User grants full permissions and access
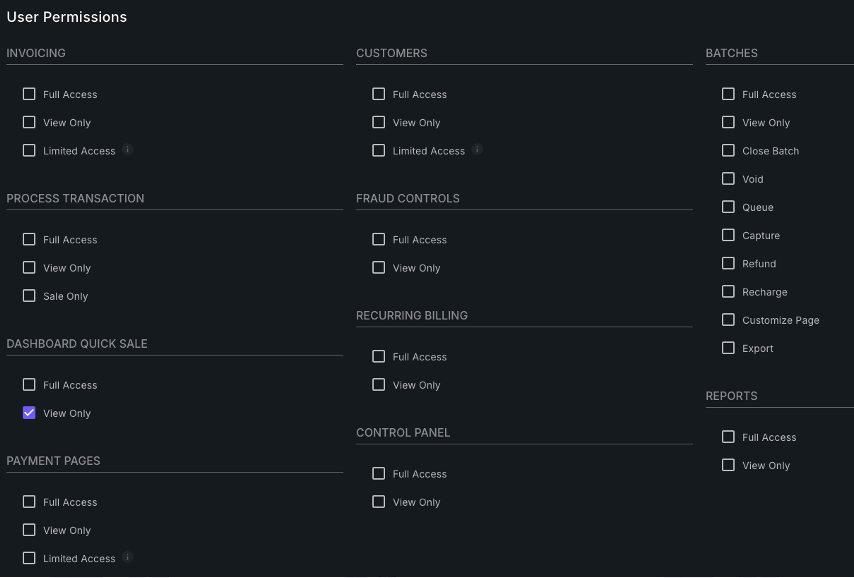
• User permissions can be individually selected for non-master users - Click Save
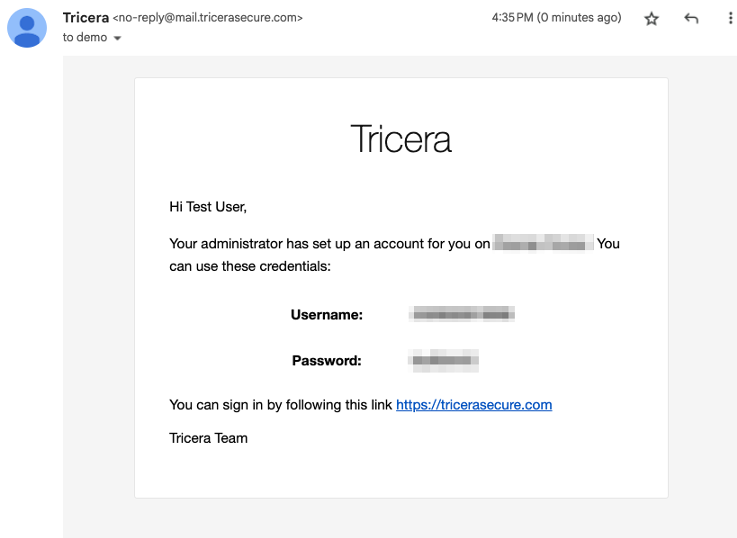
- The user will receive an automated email with a link to Tricera Secure along with a username and temporary password.

If a new user claims not to have received an email, please have them check additional folders such as spam, junk, promotions etc.
Limited permission users:
There are different levels of permission and access you can grant a specific user, and they can be limited to certain features. For example, you can grant a user full permission for processing a transaction, but still block access from the invoicing tool.
- Full access gives the user full permissions on these tabs/features.
- View only allows them to see the page and displayed information but blocks them from making any changes or taking any actions.
- Limited Access means that only the user which created this customer or invoice will have the ability to make changes to the customer profile or invoice.
- Sale Only allows the user to process a sale, but not an authorization, post-authorization or refund/credit.

Managing Users:
On the User Management screen, you can edit user profiles, activate/deactivate users, and delete users. You can also restore or reset a user’s password, if your permissions allow.


